
A load balancer is a tool that helps us manage traffic coming to a web application. In the simplest form, let’s say the application is deployed on two or more machines, so the role of load balancer here would be to make sure that incoming requests load is evenly distributed on all the machines. Also if one of the servers is down or not responding, the load balancer will be responsible for detecting this failure and redirect the traffic to healthy machines.
To see the load balancer in action, let’s bring up two (or more as per convenience) VM’s in Azure and install the IIS server.
Create a Resource -> Add Virtual Machine -> Choose “Windows Server 2016 Datacenter” image-> Add access for RDP (3089) and HTTP (80) ports.
Make sure both the machines are part of the same Availability Set (or Virtual Scale Set).
RDP to the machines, you will see Server manager (or bring it up)

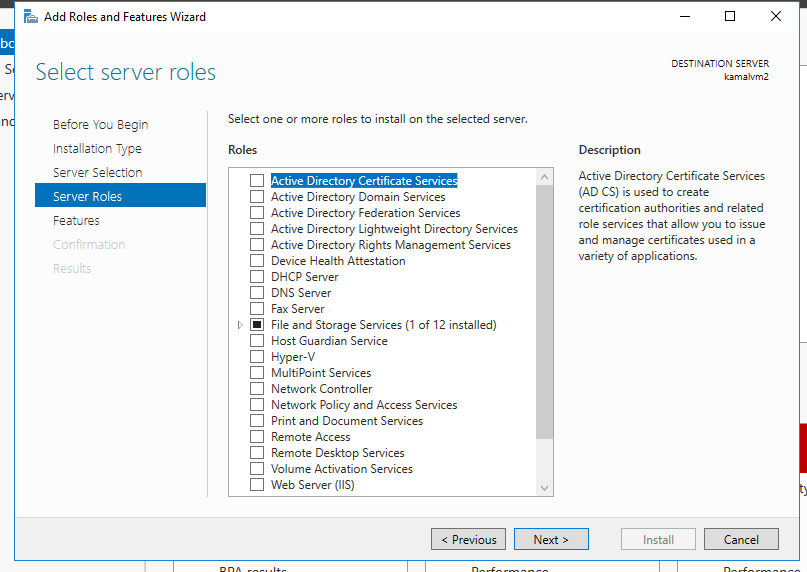
Choose the option to Add roles and Features, and go ahead and add the IIS server.
Finally, make sure that the windows firewall allows traffic on port 80. Go to “Windows firewall and advanced security options” -> Inbound Rules -> Add New Rule ->Type port ->number 80.
Once the above steps are done, you can access the IIS server default page when you will hit the IP address of these VMs. To distinguish between the two webpages, you can make some modifications to either of them.
Go to C:\inetpub\wwwroot -> update html or image.
The next step is to set up the load balancer. Add a new resource -> Load balancer. First thing you will need to provide backend pool, for which you will choose the availability set in which both the VMs are available (or Virtual Machine Scale Set), next you will need to set up Health probe, as both our VMs are listening on port 80, you can simply set the port 80 for health probe. If the load balancer senses some problem with a machine based on the interval (seconds after which the load balancer ping the health probe) and unhealthy threshold (number of failures occurred after which load balancer treats the node as failure), the load balancer will stop sending traffic to that node.
Finally, you will set up a Load balancing rule, where all you need to provide is an incoming port on which traffic is expected, backend pool and health probe which we had already setup. Once this is set up, you can hit the load balancing URL and see that traffic is directed to the IIS page we set up earlier. If you will refresh the page multiple times you will be able to see traffic is going to both the server randomly. If one of the servers is shut down, the load balancer keeps on working fine with traffic redirected to the second server.
In addition to load balancer rule, one can also set up NAT rules, which are usually used for forwarding traffic on a port to a specific VM. Here is a good reference for that
https://rasmusg.net/2017/11/20/part-1-of-2-port-forwarding-in-azure/
https://rasmusg.azurewebsites.net/2017/11/20/part-2-of-2-port-forwarding-in-azure/
While we are on the topic of load balancers, it is important to note that there are two other ways in which we can control the traffic in Azure. These are Application Gateway and Traffic Manager. Here is a good comparison of different options for load balancing and which to prefer when https://devblogs.microsoft.com/premier-developer/azure-load-balancing-solutions-a-guide-to-help-you-choose-the-correct-option/