
This is a short tutorial about creating a simple REST webservice with spring boot. This assumes you have basic knowledge of Spring and Java.
To get started we will create a Spring project. The simplest way to do this is to go to http://start.spring.io/ and create a project.
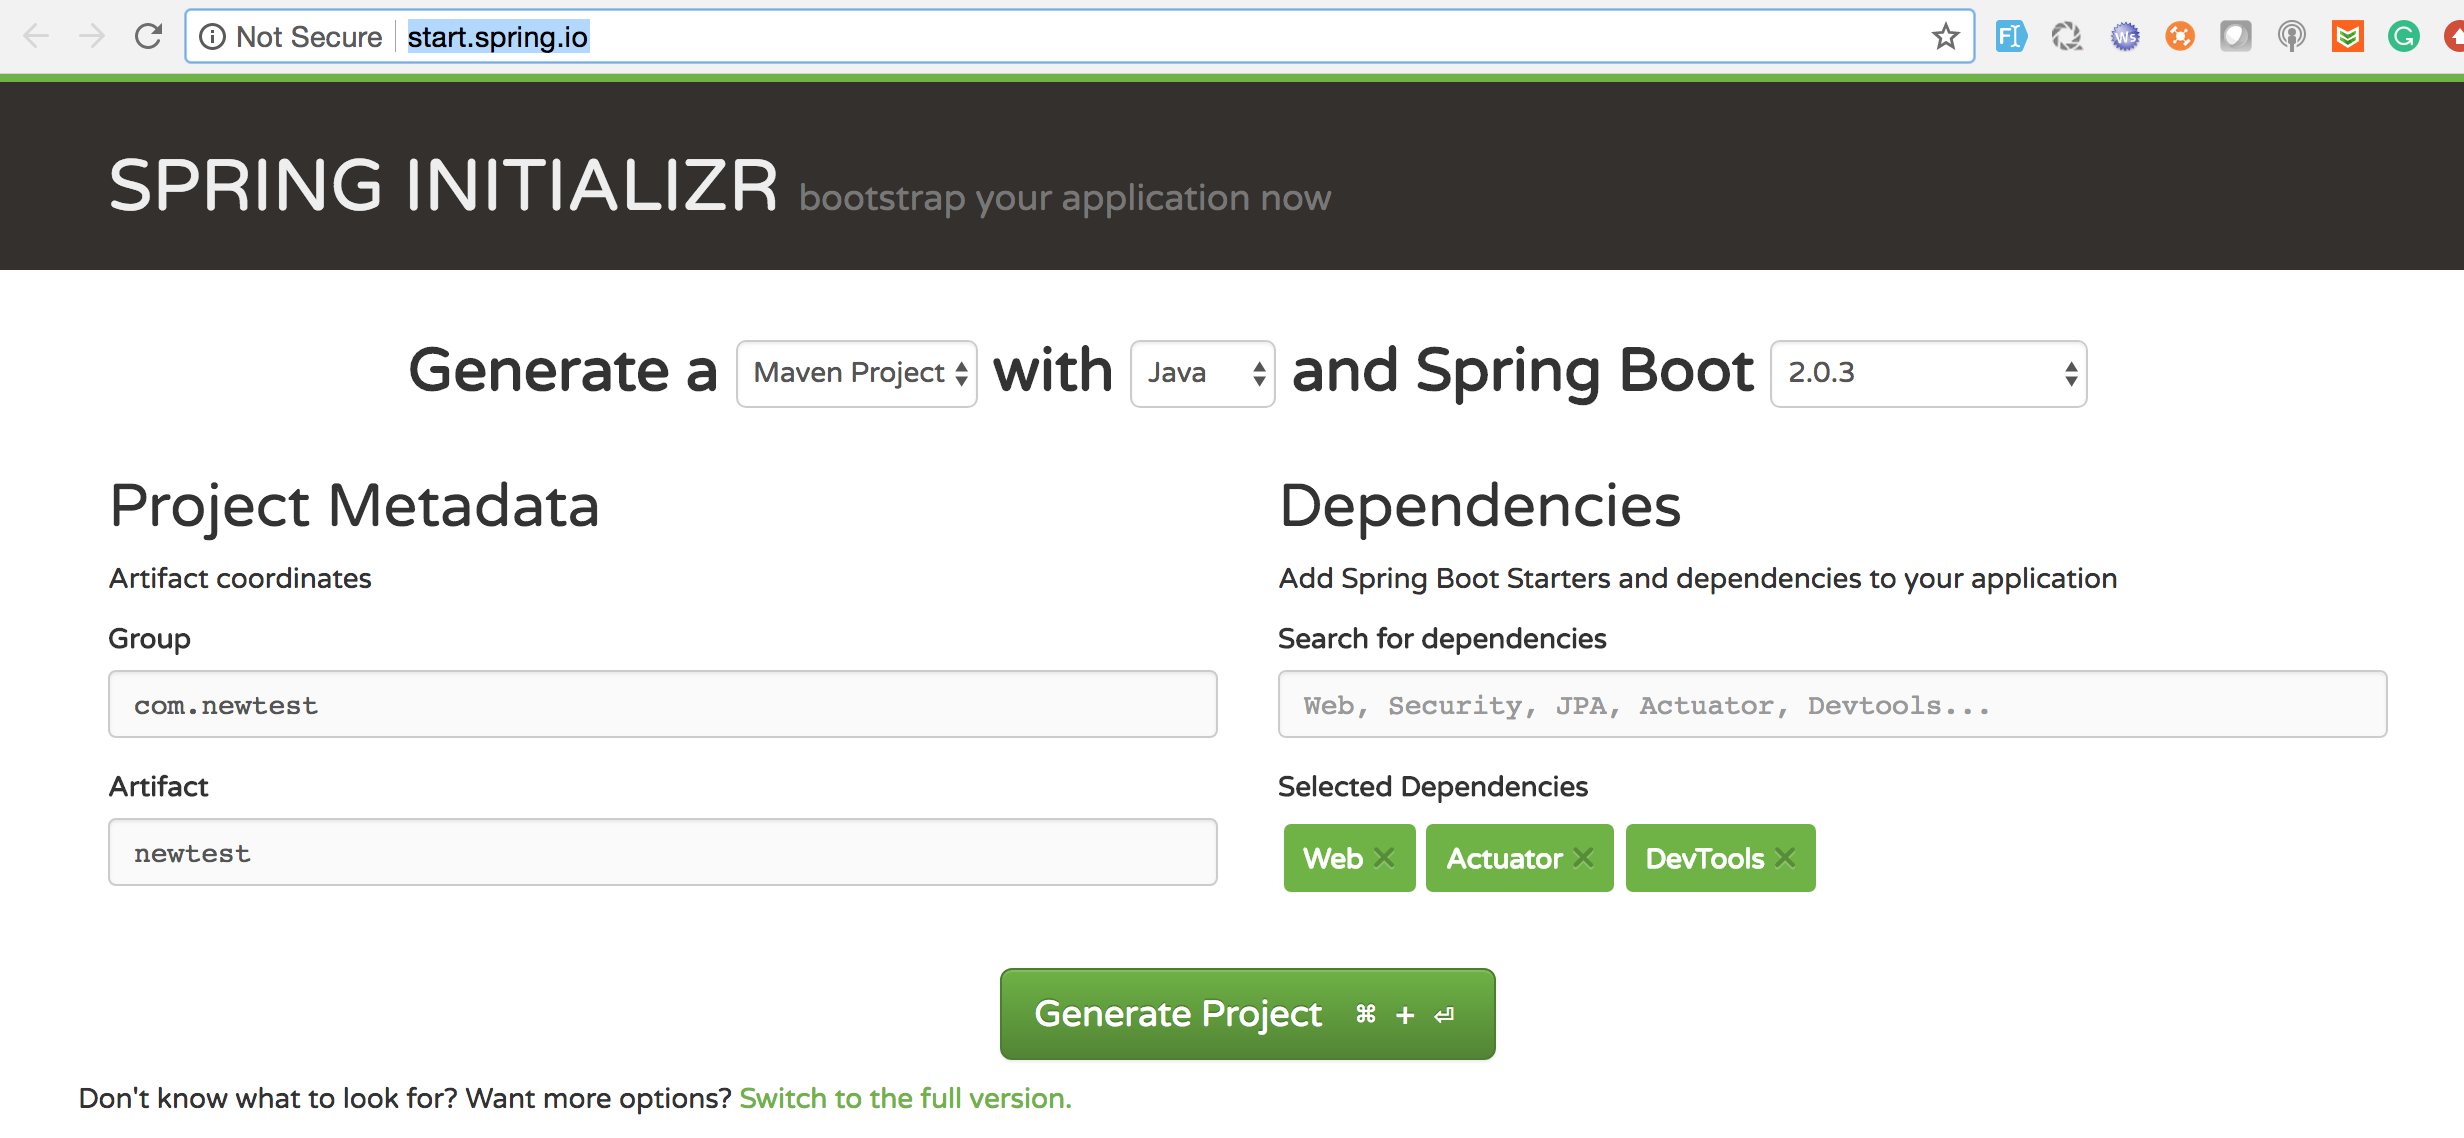
This will give us a blank project on which we can build upon. Import the project as Maven project to Eclipse or any other ID. By default, it will provide a class which will look like
@SpringBootApplication
public class NewtestApplication {

	public static void main(String[] args) {
		SpringApplication.run(NewtestApplication.class, args);
	}
}
As you can see this is the main class and all the execution starts here. Also, note the @SpringBootApplication annotation. Spring documentation states that
“The @SpringBootApplication annotation is equivalent to using @Configuration, @EnableAutoConfiguration, and @ComponentScan with their default attributes”
For this example, we will keep it simple and introduce a controller
@RestController
public class HelloController {

	@GetMapping("/sayhello")
	public String sayHello() {
		return("Hello");
	}
}
Finally, Run the main class as a normal Java application, it will automatically start the Spring Boot server at 8080.
We can now access our application at http://localhost:8080/sayhello